WebsiteBuilder: Integrated Shipping
How to check if I have Legacy WebsiteBuilder Editor or Express Editor?
| Legacy WebsiteBuilder | WebsiteBuilder Express Editor |
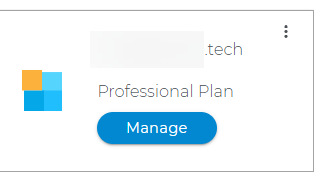 |
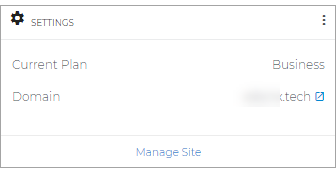 |
How to launch WebsiteBuilder
How to activate Integrated Shipping with the Legacy WebsiteBuilder Editor
How to activate Integrated Shipping with the Express Editor
How to launch WebsiteBuilder?
- Log in to your Domains Dashboard.

- There are two views in the Domains dashboard - the Card and List views. Click on the view icons to switch to your preferred view.
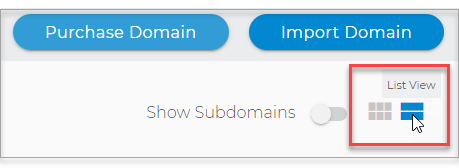
- Choose the domain where your WebsiteBuilder is situated.
In the Card view, click the domain's Manage button.
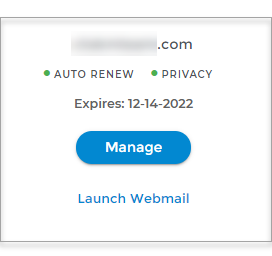
In List view, click the domain or its gear icon on the right-hand side.

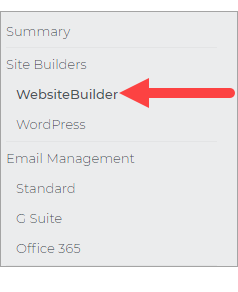
- Click on WebsiteBuilder on the left pane.
How to activate Integrated Shipping with the Legacy WebsiteBuilder Editor
-
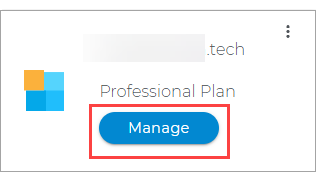
To launch your Legacy WebsiteBuilder Editor, click Manage.
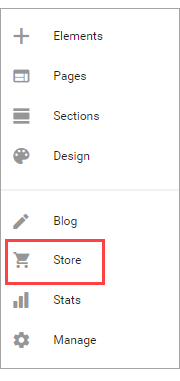
- Once you are in, click on the Store Section on the left menu.
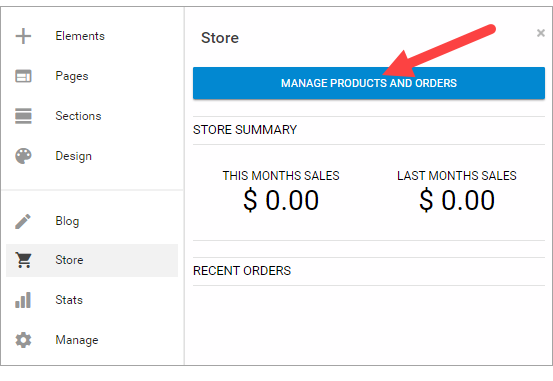
- Then hit Manage Products and Orders.
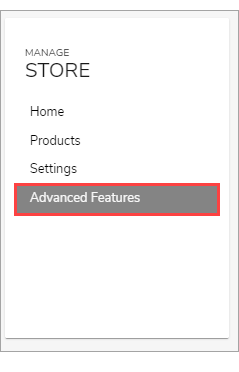
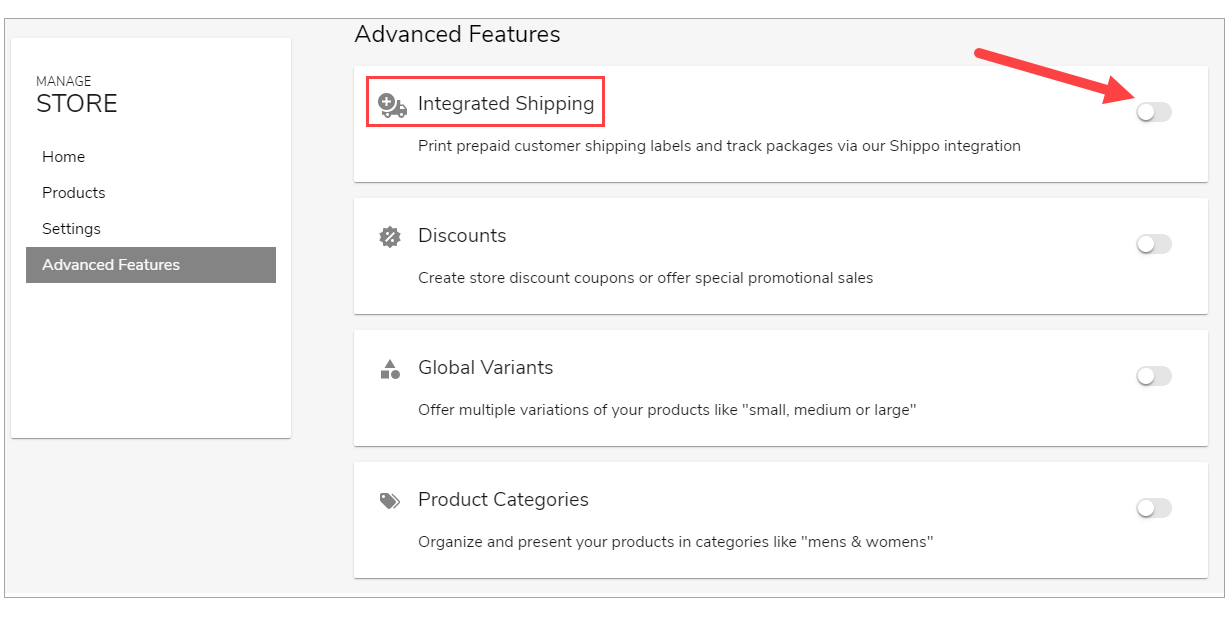
- Inside the Manage Store settings, click on Advanced Features.
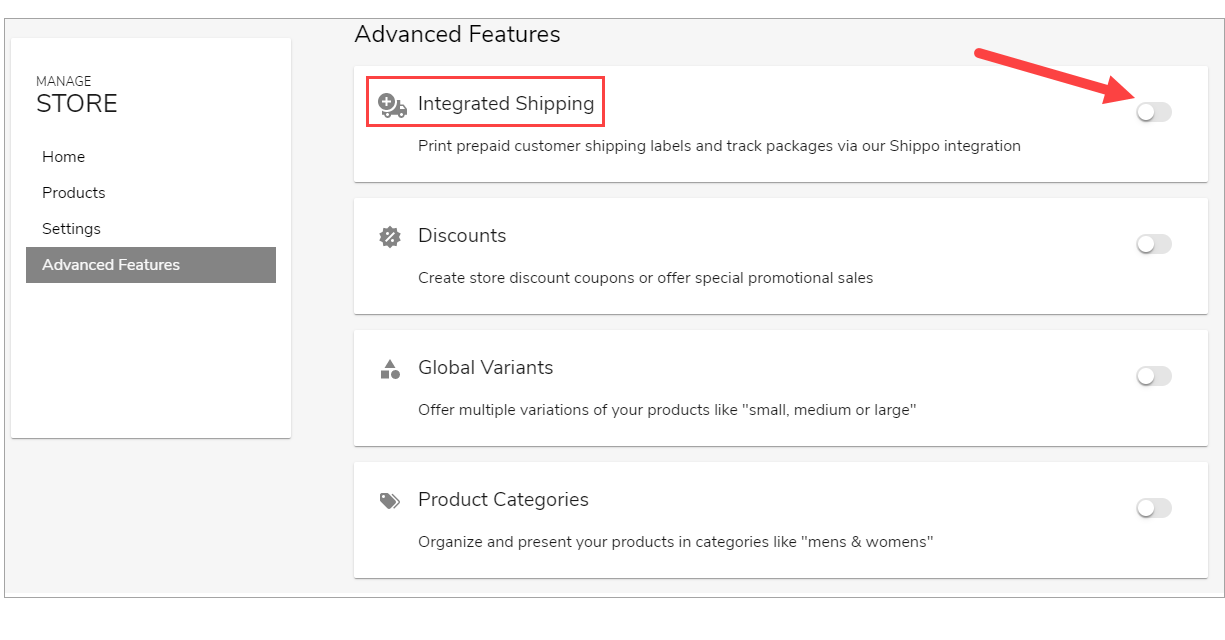
- Look for Integrated Shipping and turn it on.
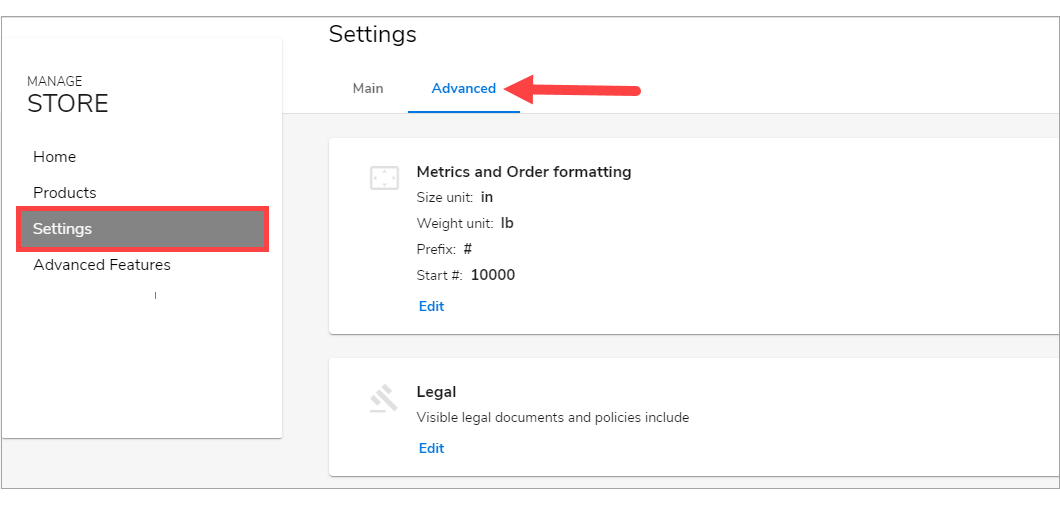
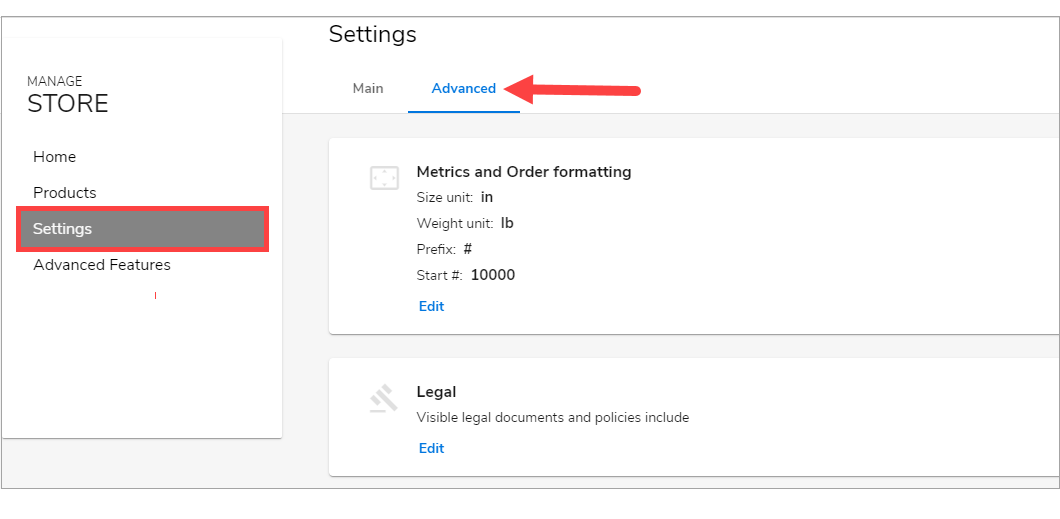
- Then on the left menu, click Settings and click Advanced.
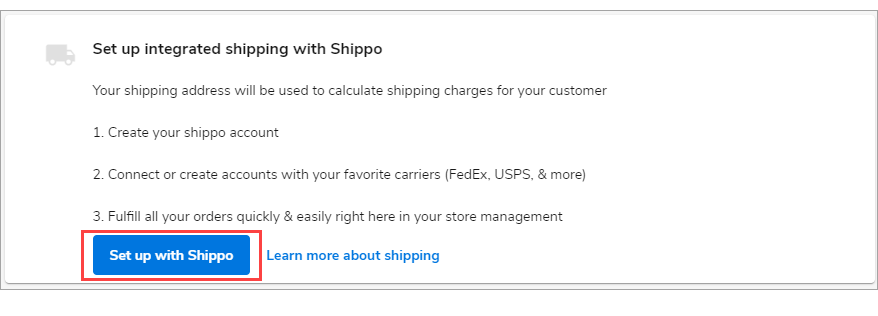
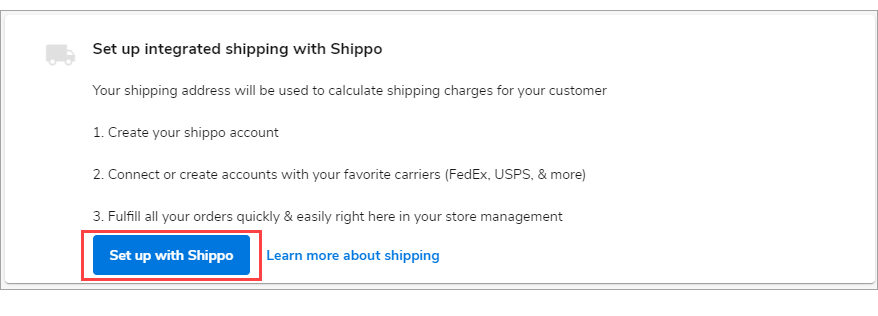
- Scroll down and click Set up with Shippo.
How to activate Integrated Shipping with the Express Editor
-
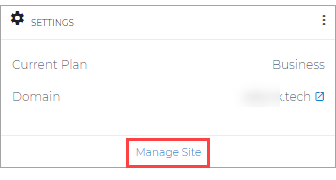
To launch your WebsiteBuilder Editor, click Manage Site.
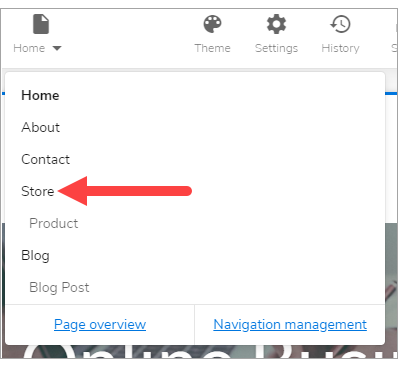
- On the top section of your editor screen, look for the drop-down of pages, then click Store.
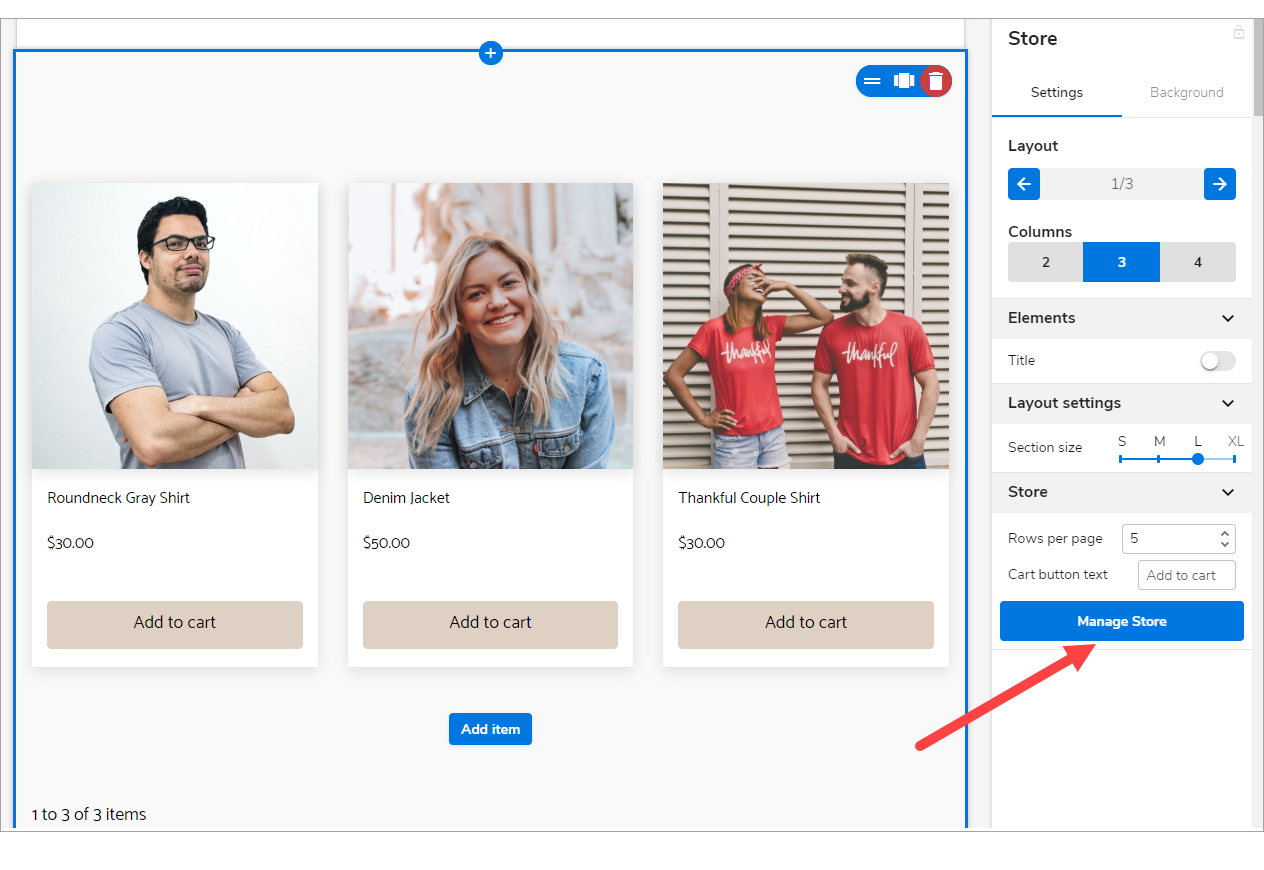
- Hover your mouse to one of the sections and notice that several options will slide on the right pane. Look for Manage Store.
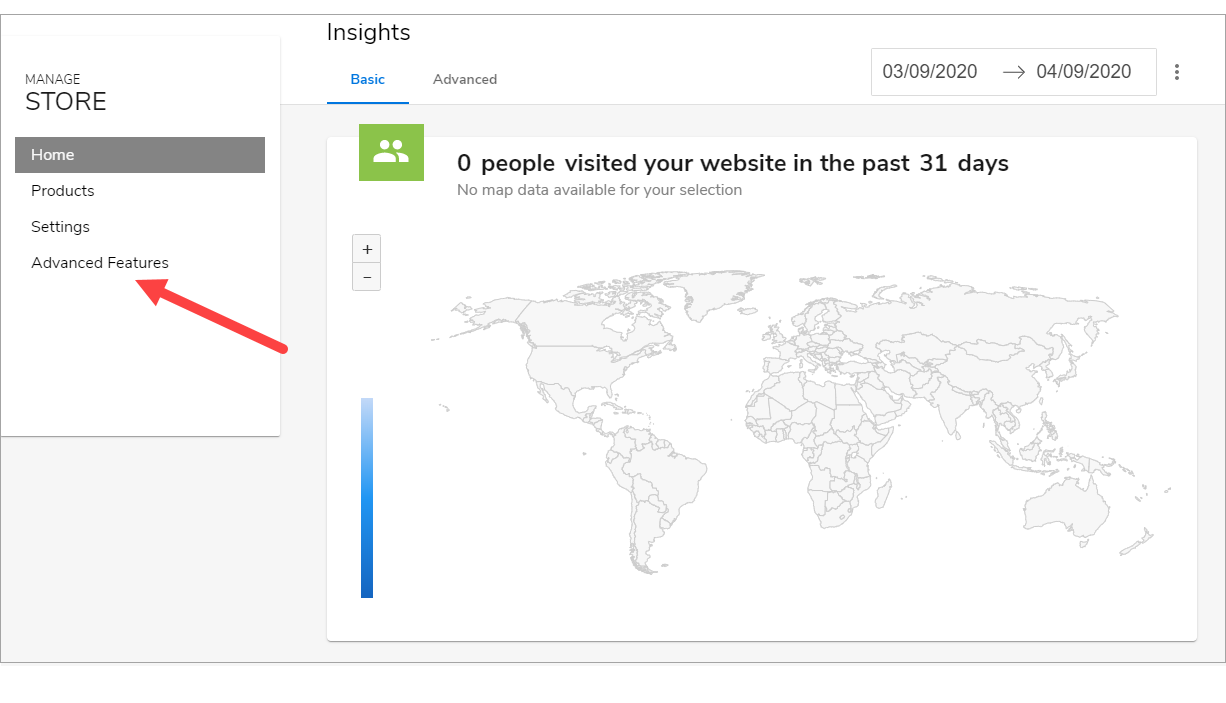
- On the left menu inside the Manage Store page, click Advanced Features.
- Look for Integrated Shipping and turn it on.
- Then on the left menu, click Settings and click Advanced.
- Scroll down and click Set up with Shippo.
How to Set Up Shippo:
Creating an Account
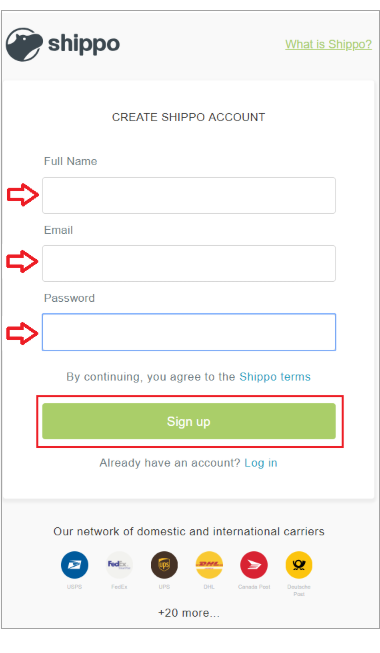
- After clicking Set up with Shippo, enter the details required, and select Sign up to continue.
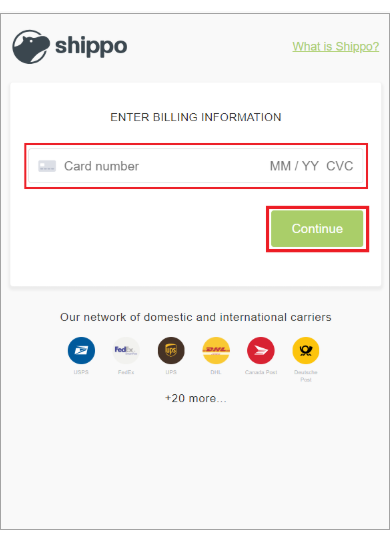
- Enter your billing information, and select continue.
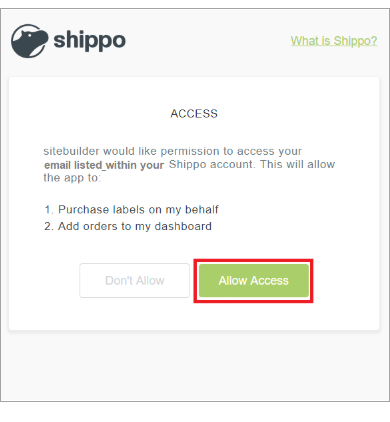
- Be sure to Allow Access to complete the account creation.
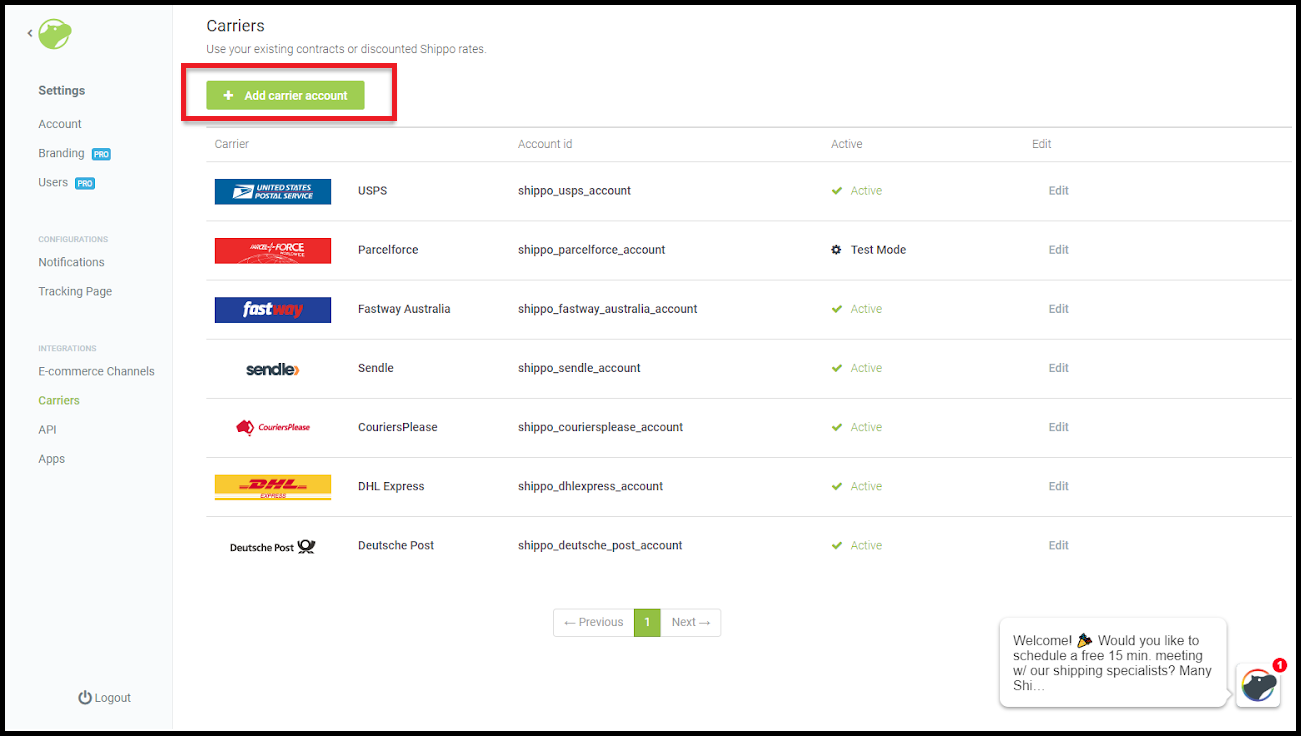
*USPS is set up automatically for domestic customers; you can update the other carriers later.
- From your Shippo Account, select Add New Carrier from the top left corner.
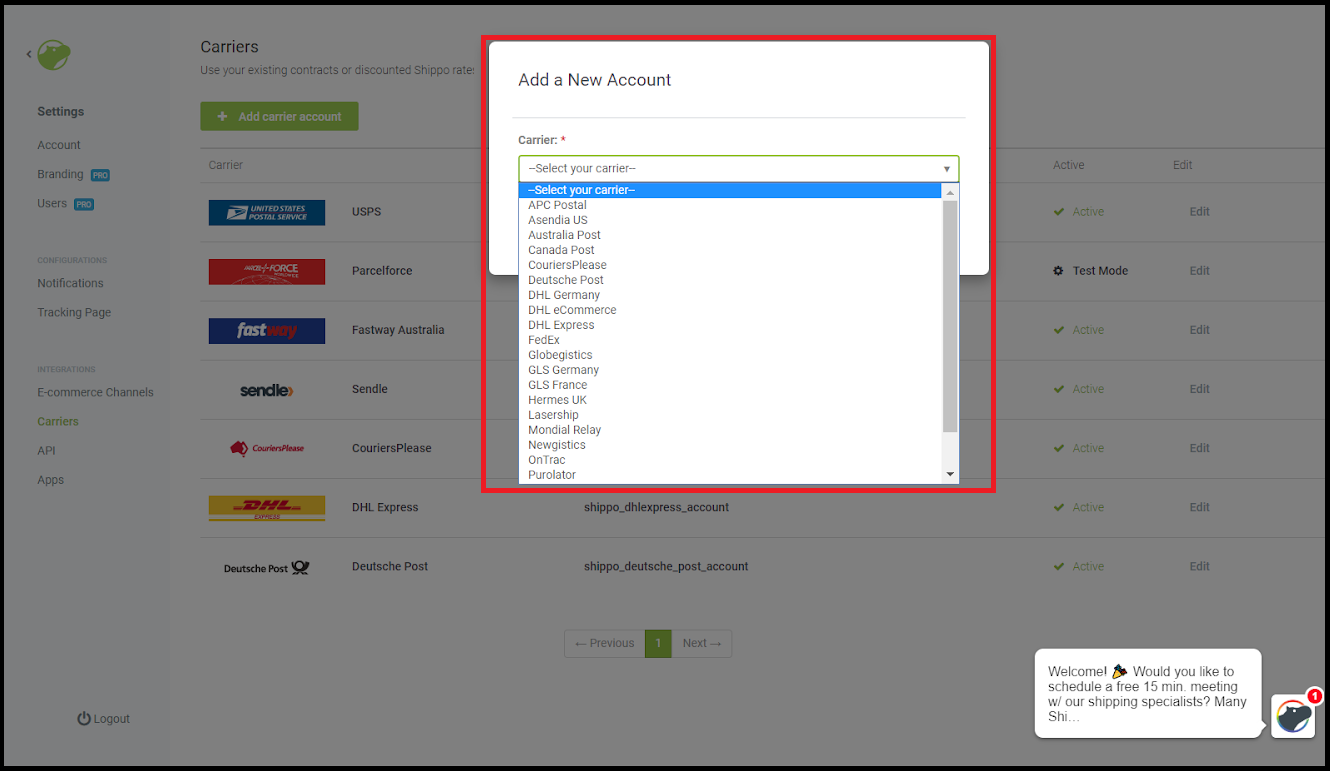
- You can Add New or enter an existing account (i.e., FedEx, UPS, or DHL).
- Once complete, you will navigate back to your WebsiteBuilder account to set up default package sizes.
Enter Default Package Size - Once you have selected your carriers, navigate back to your account, and add your default package size. The integrated shipping tool will begin the process of estimating shipping costs based on this information.
- Enter your default package size based on the most common item(s) you will ship.
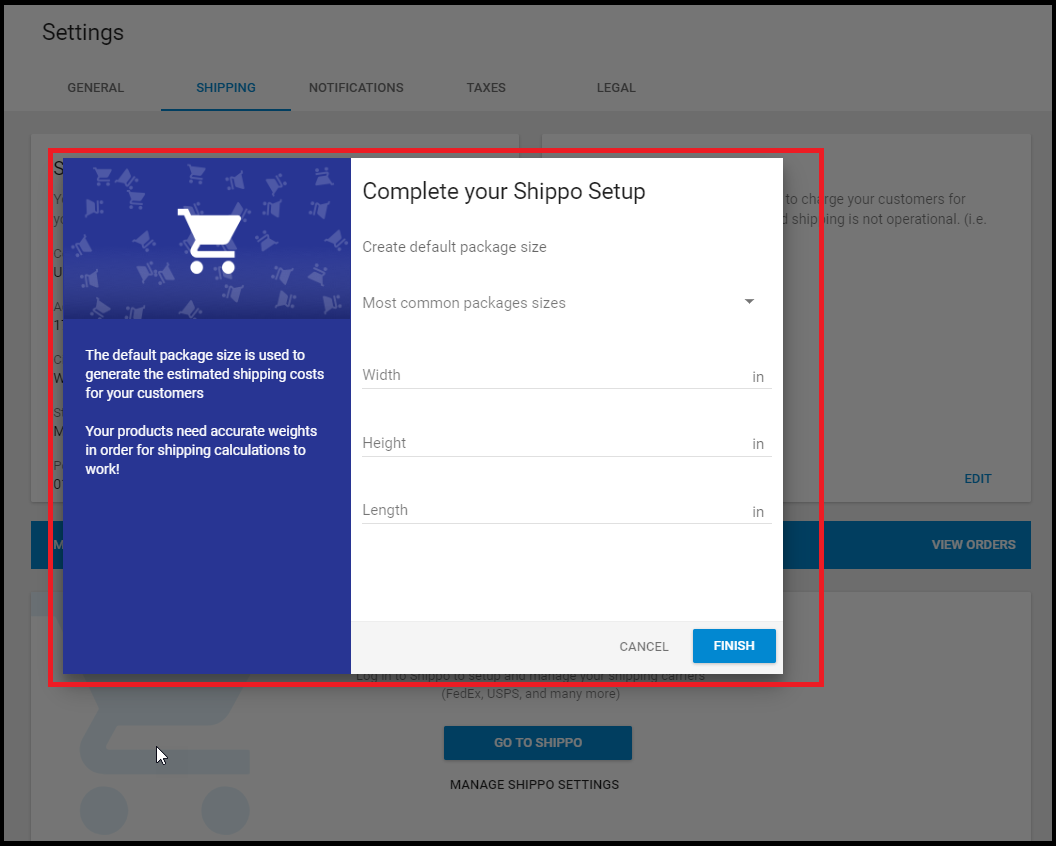
- Once you have added your default package size, click Save to complete this process.
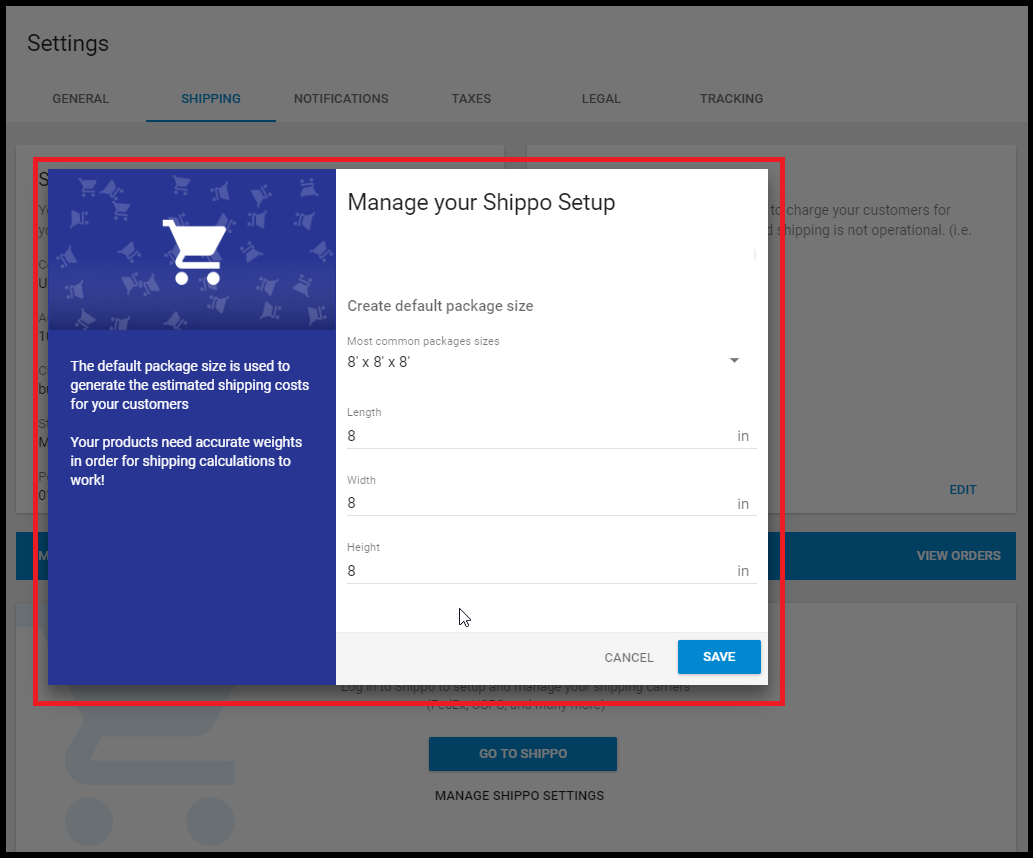
Enter Product Weights - The last step to setting up Integrated Shipping is to enter the weights for each product you add to your store. To add product weights, first, you may want to review the process for Managing Products, which will cover how to add a product.
- Inside the Add Product page, look for Advanced Settings and click Weights.
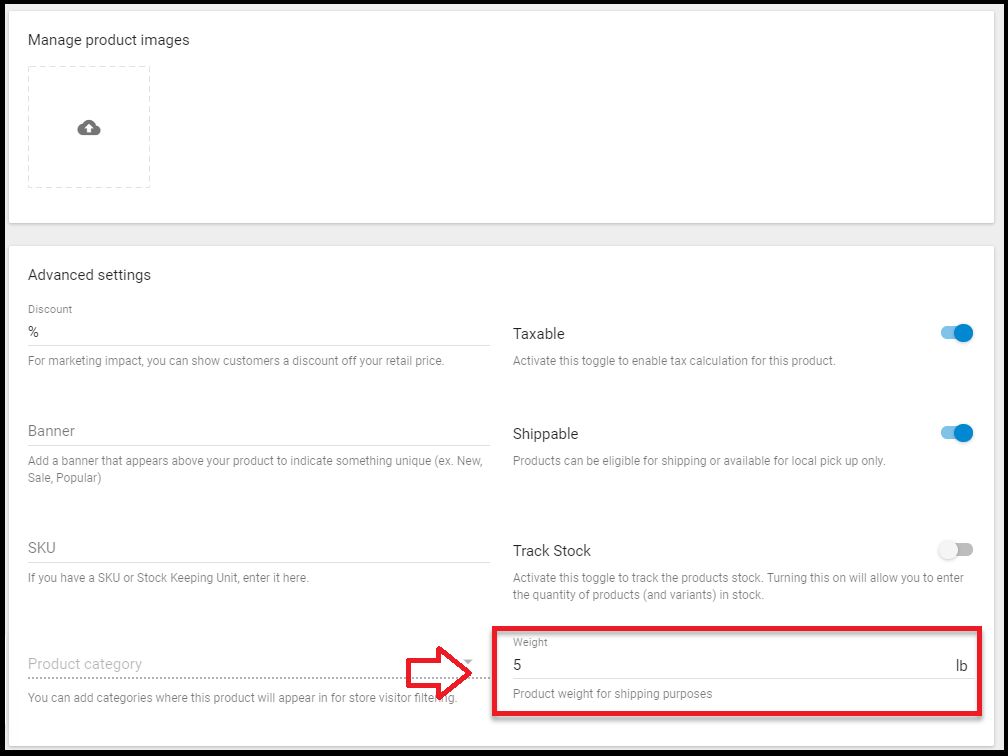
- Enter in all your product details as needed and Save.

 No matter what your budget is or how little time you have, you can reach new customers and grow your business using Google Ads. See results and gain new customers in minutes!