WebsiteBuilder: Getting Started
New to Websitebuilder? Don't worry. We have you covered. In this article, we will guide you through the following:
For more related articles, please click here.
Sign up for WebsiteBuilder
- Log in to your Domains Dashboard.

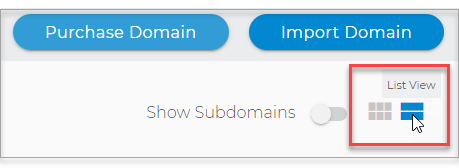
- There are two views in the Domains dashboard - the Card and List views. Click on the view icons to switch to your preferred view.
- Choose the domain you wish to modify.
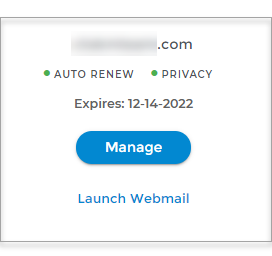
In the Card view, click the domain's Manage button.
In List view, click the domain or its gear icon on the right-hand side.

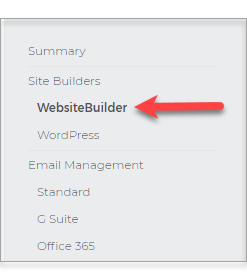
- On the left sidebar, click WebsiteBuilder.
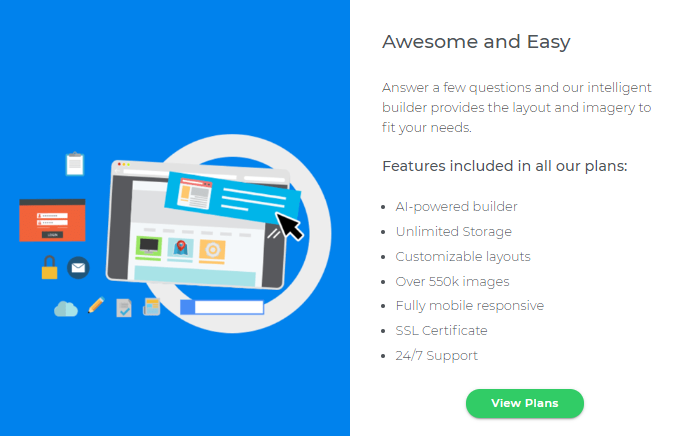
- Scroll down and click the View Plans button.
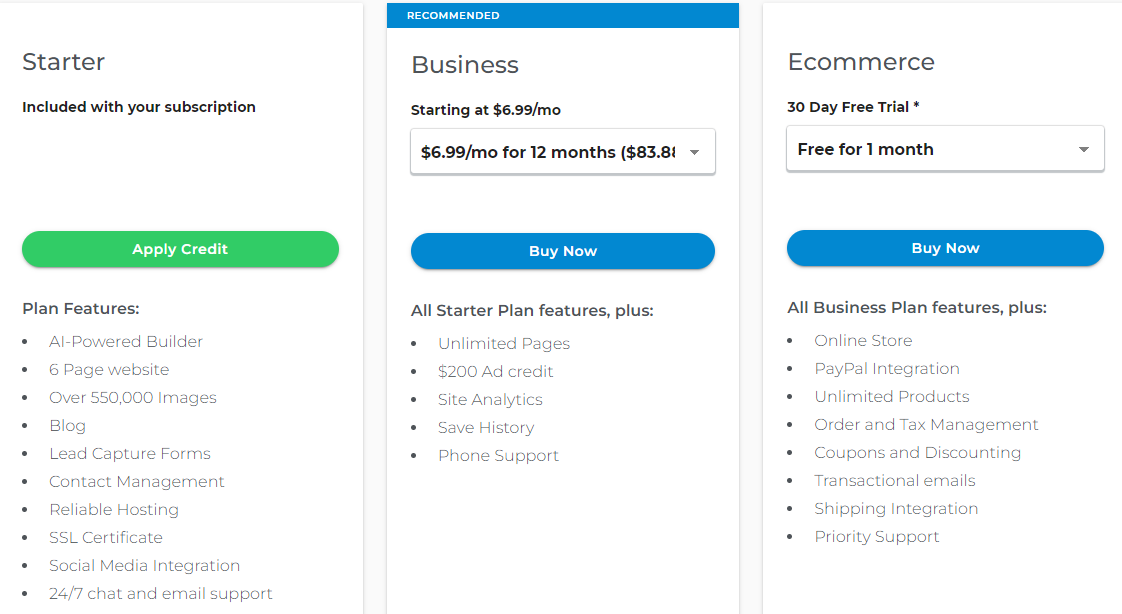
- You may use our free Starter Plan or upgrade it to any of your desired plans below. Click the Buy Now button to proceed.
How to launch WebsiteBuilder?
- Log in to your Domains Dashboard.

- There are two views in the Domains dashboard - the Card and List views. Click on the view icons to switch to your preferred view.

- Choose the domain you wish to modify.
In the Card view, click the domain's Manage button.

In List view, click the domain or its gear icon on the right-hand side.

- On the left pane, click on WebsiteBuilder, under Site Builders.

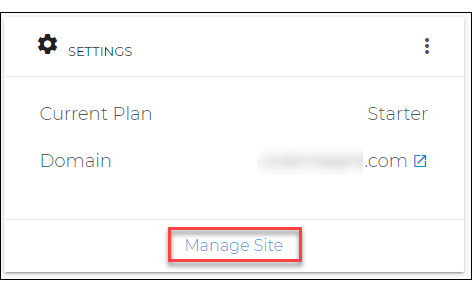
- Under Settings, click Manage Site. This action will open your WebsiteBuilder screen on a new tab.
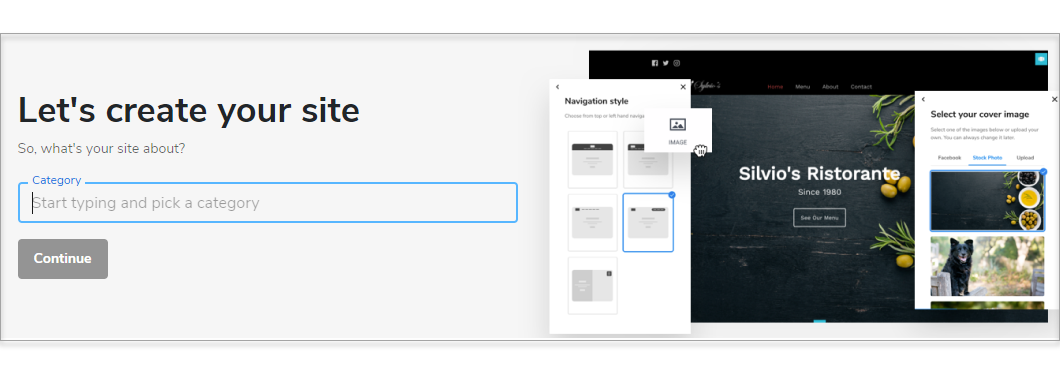
Get started with your website
- Start typing and pick a category of your site.
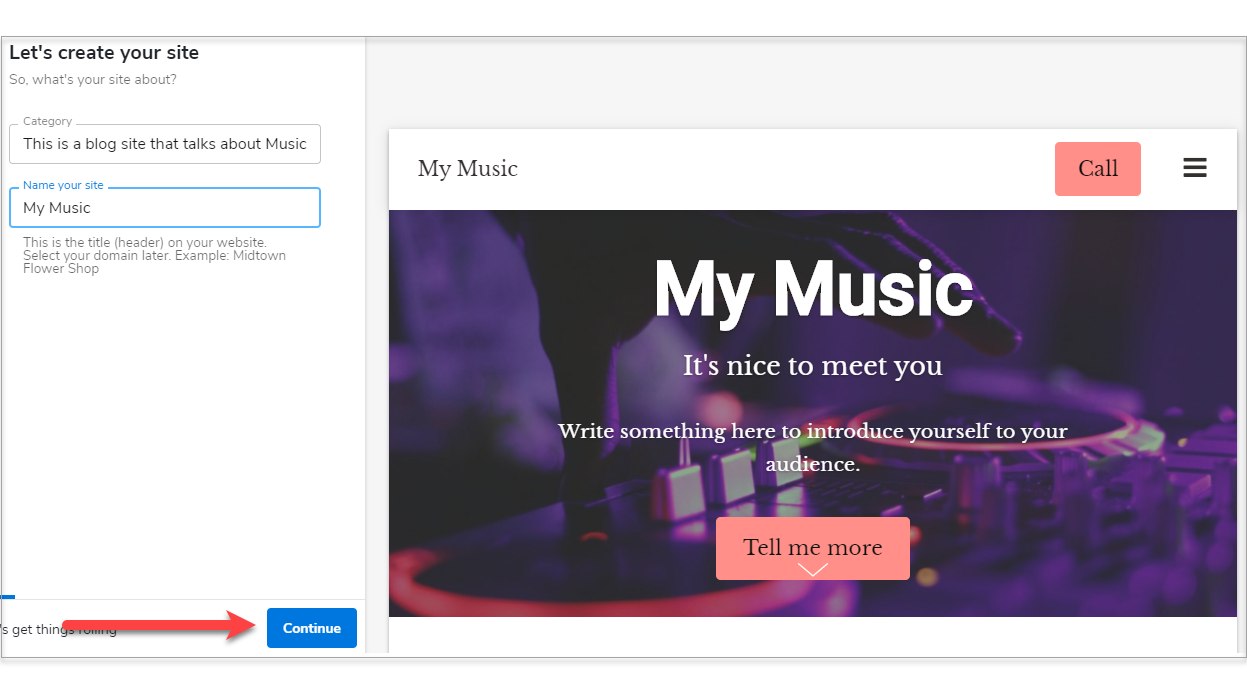
- Name your site and click Continue.
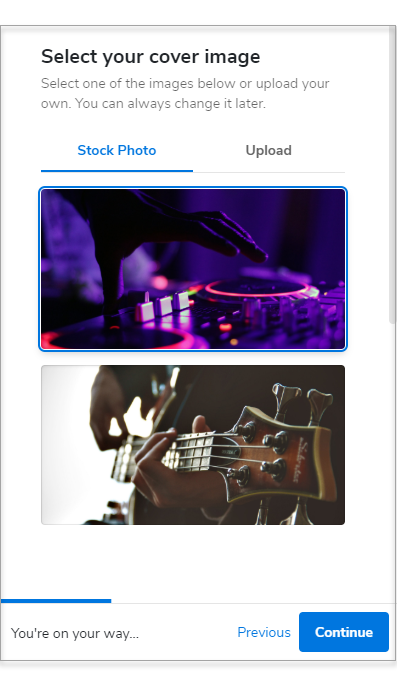
- Select your cover image and click Continue.
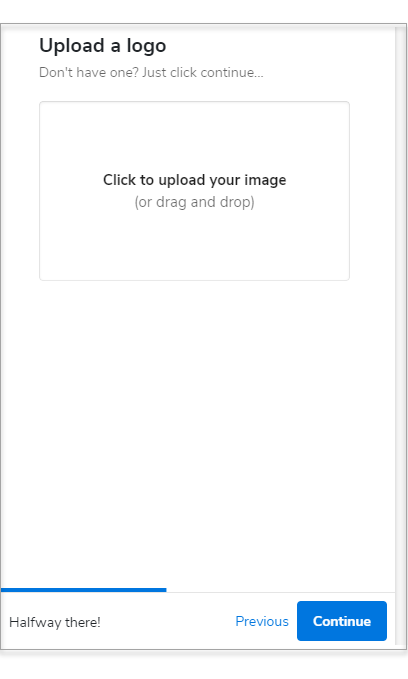
- Upload your site logo. If you don't have one yet, click Continue.
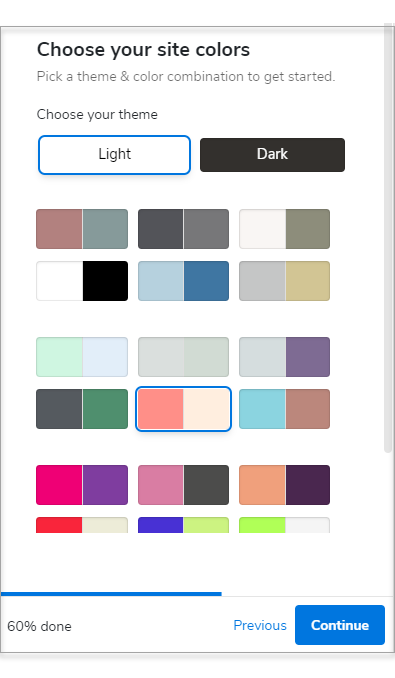
- Pick a theme and color combination for your website.
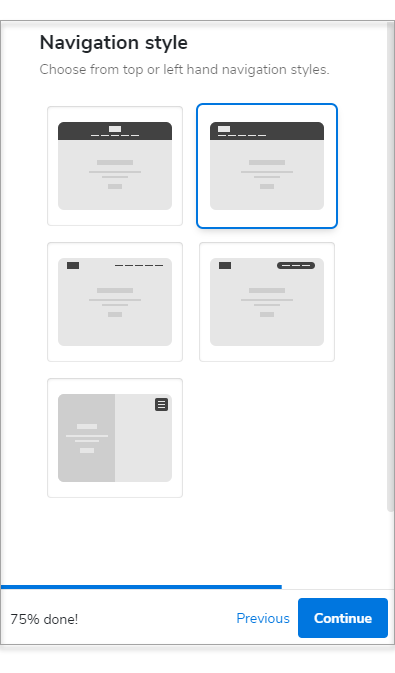
- Choose a Navigation Style.
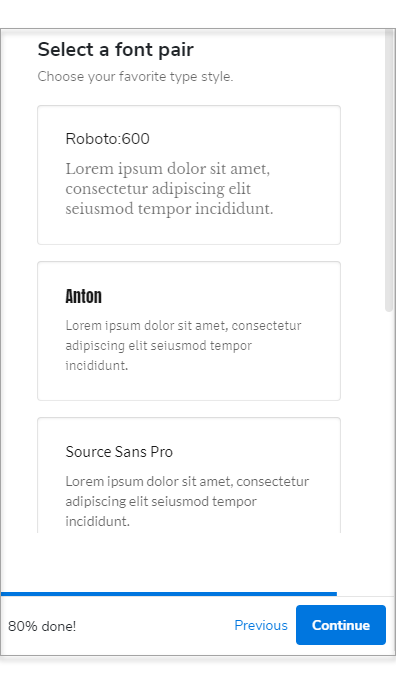
- Select a Font Pair.
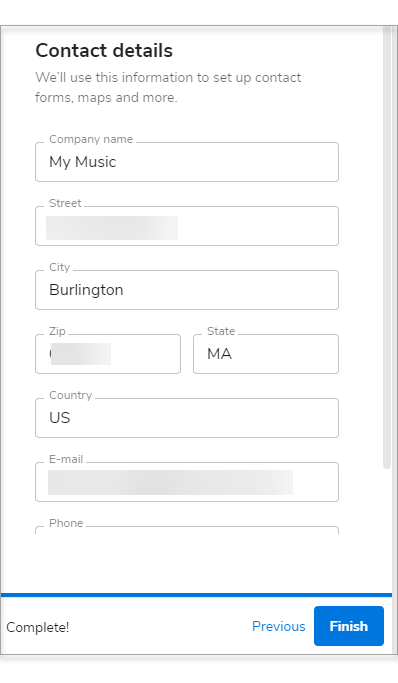
- Type in your contact details. We'll use this information for your contact forms, maps, and more.
- Click Finish.

 No matter what your budget is or how little time you have, you can reach new customers and grow your business using Google Ads. See results and gain new customers in minutes!