Email Management: How to Manage Your Spam Filter
How to Enable Default Spam Filter
The default spam filter protects you against most incoming spam messages.
-
Log in to your Hosting Dashboard.

- Under the Hosting Tab, click on Hosting tools on the upper right.
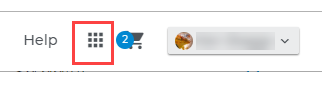
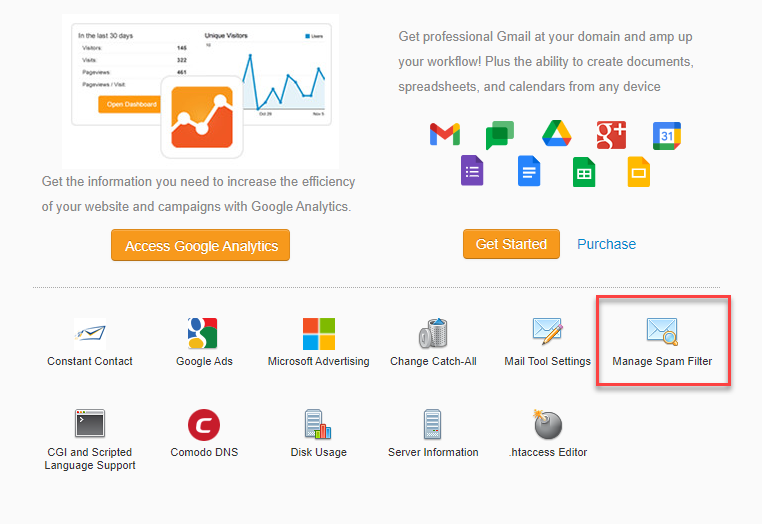
- Once you are in Advanced Tools, scroll down and select Manage Spam Filter.
The location of the Manage Spam Filter application may differ from one account to another. Please browse through the Advanced tools to see the Manage Spam Filter.
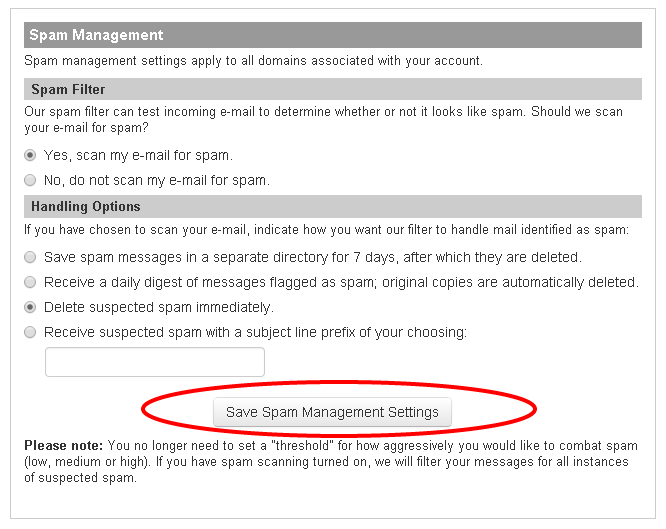
- Select Yes, Scan My Email for Spam.
- Select your spam handling option:
- Save spam messages in a separate directory for 7 days, after which they are deleted.
- Receive a daily digest of messages flagged as spam; original copies are automatically deleted.
- Delete suspected spam immediately.
- Receive suspected spam with a subject line prefix of your choosing:
- Click Save Spam Management Settings.
How to Create a Whitelist or Blacklist Entry
The Whitelist allows you to choose who you always want to receive email from. The Blacklist will enable you to choose whom you want to never receive email from. To create a single Whitelist or Blacklist entry:
-
Log in to your Hosting Dashboard.
- Under the Hosting Tab, click on Hosting tools on the upper right.
- Once you are in Advanced Tools, scroll down and select Manage Spam Filter.
- Locate the Whitelist / Blacklist section.
- Use the Settings For drop-down to select which domain you want to manage Whitelist and Blacklist entries for.
- Click Go.
- Select Whitelist or Blacklist.
- Use the Recipient drop-down to select which of your mailboxes you want to apply the list entry to.
- Use the Sender text field to specify a sender address.
- Use the Sender IP text fields to specify a sender IP address.
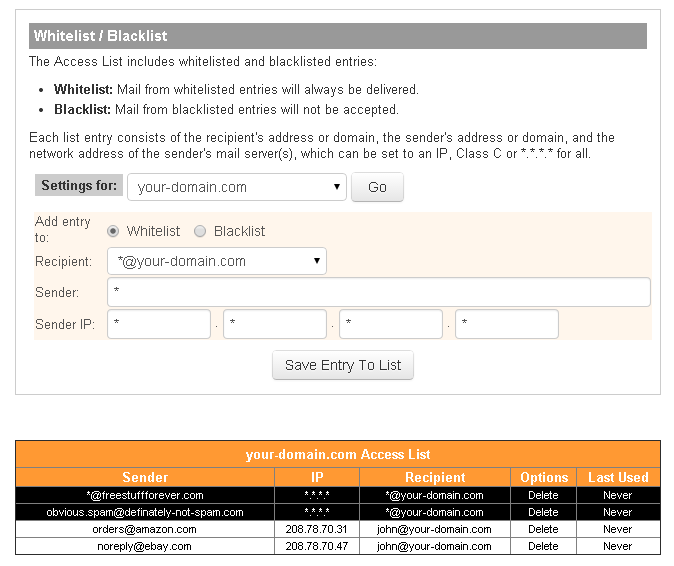
You can delete an unwanted entry at any time by clicking Delete under the Options column.
For further assistance, please don't hesitate to contact us if spam persists.
